Menu board module
Menu board module
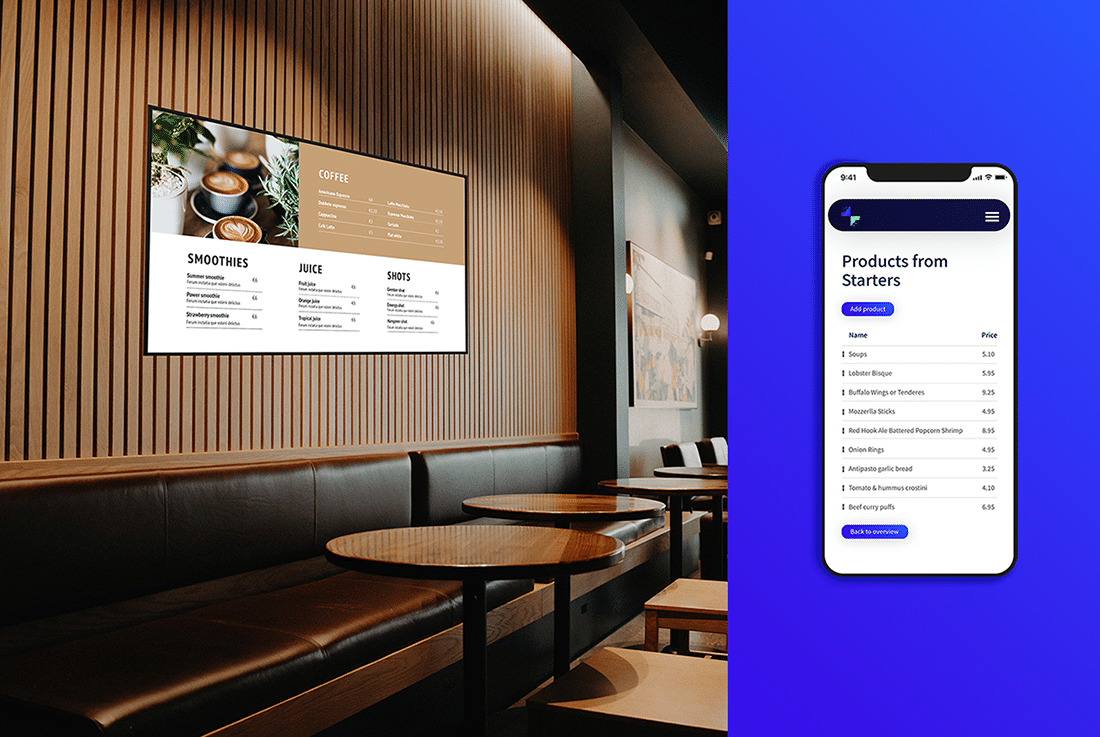
Our application offers a menu board module. With this module you can easily manage your menu boards. You can manage your digital menu boards via a desktop, laptop or smartphone.
Before you can use this module, you must set up the menu board once. You can start with our menu board by going through the following steps:
You start by creating the products. These products and categories will be displayed on the screen later.
1. Login to the platform and go to the Modules level
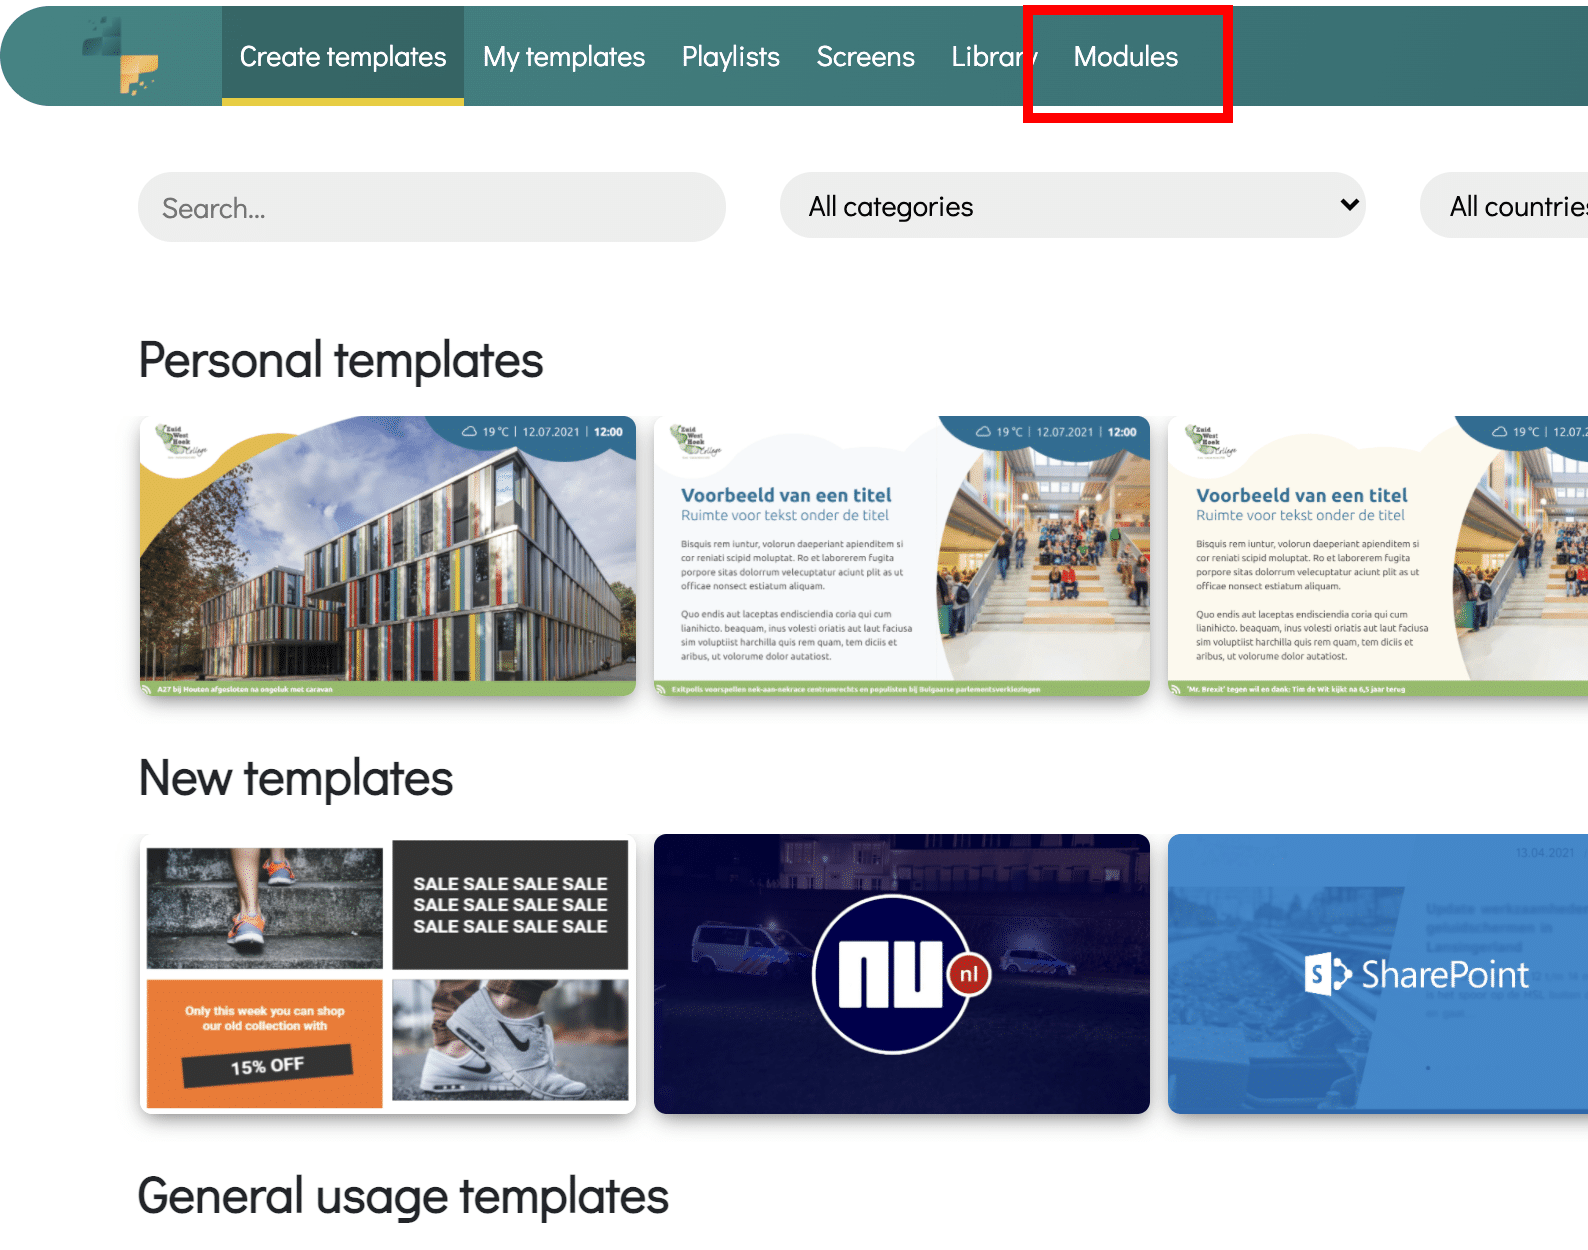
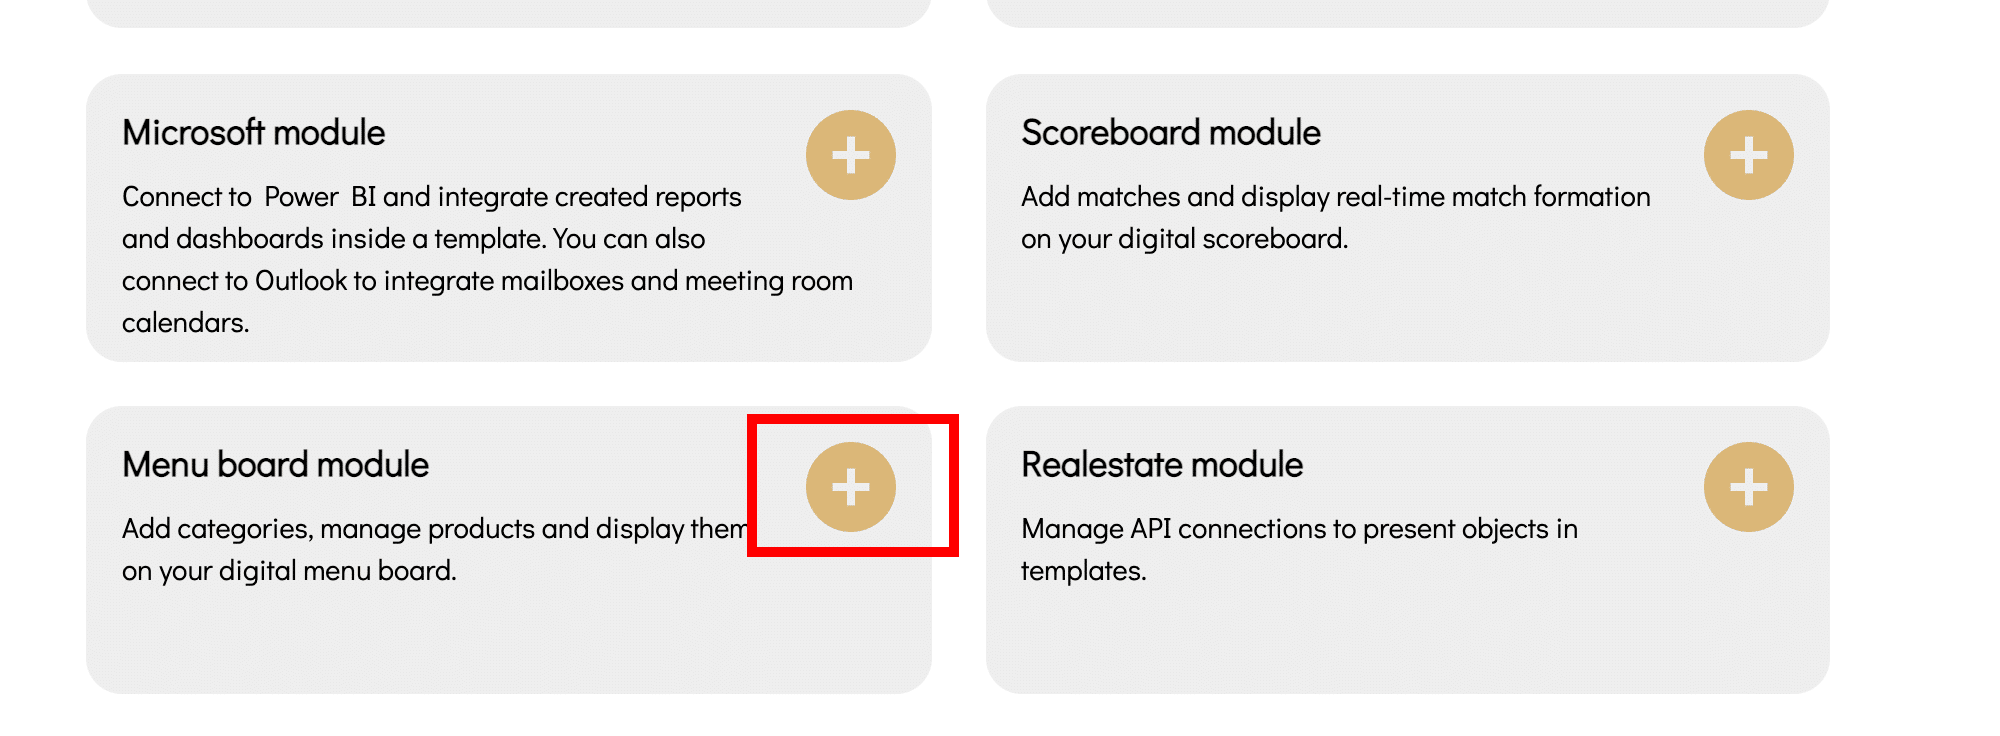
2. Scroll down and open the Menu Board module
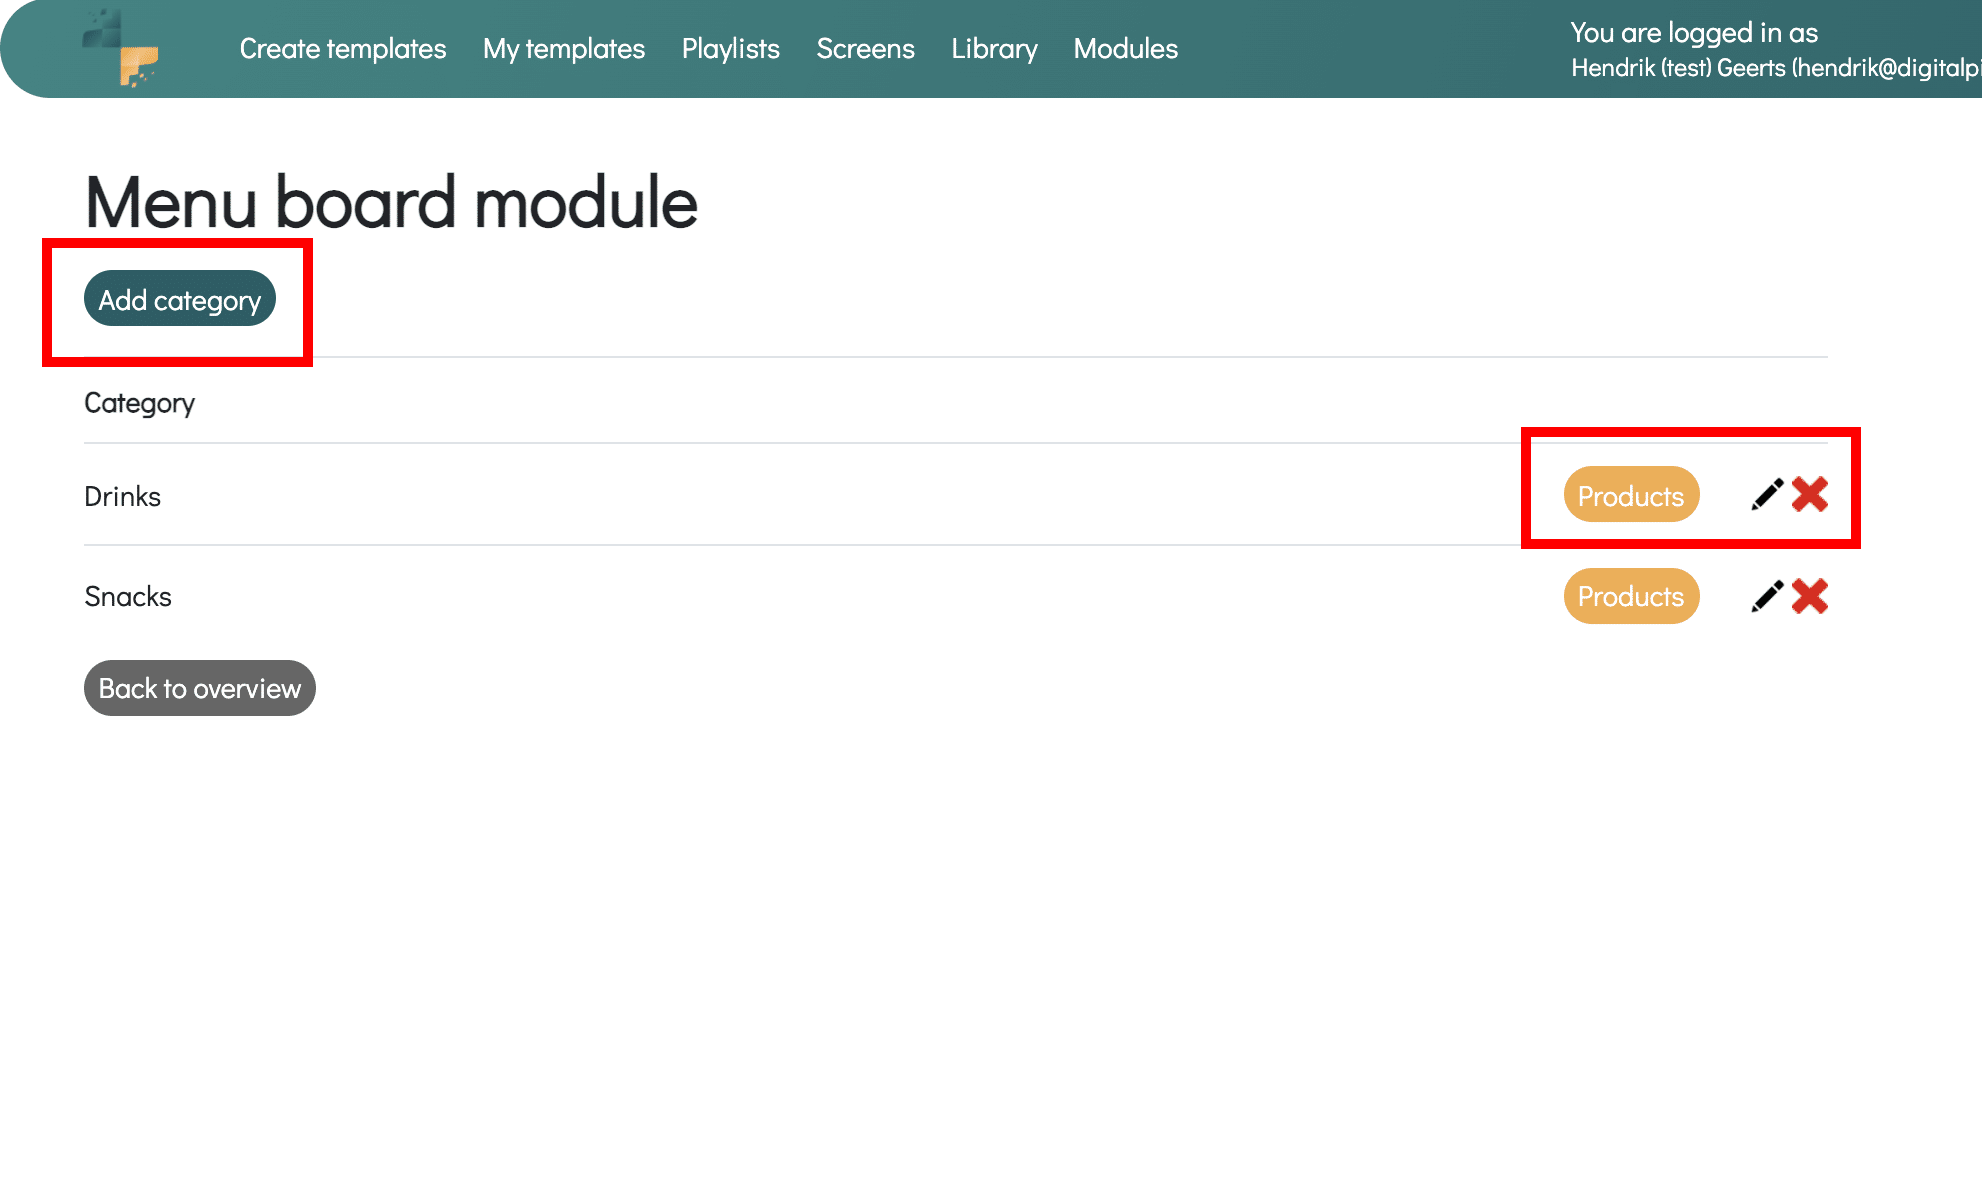
3. When opening the module you can create categories. Think of a category Drinks, Snacks, sandwiches et cetera. These categories will be filled with products later. After creating the two categories, it will look like this (see below).
You can open the category by clicking on Products.
4. Click on Products to fill the category with products. Creating products looks like this:
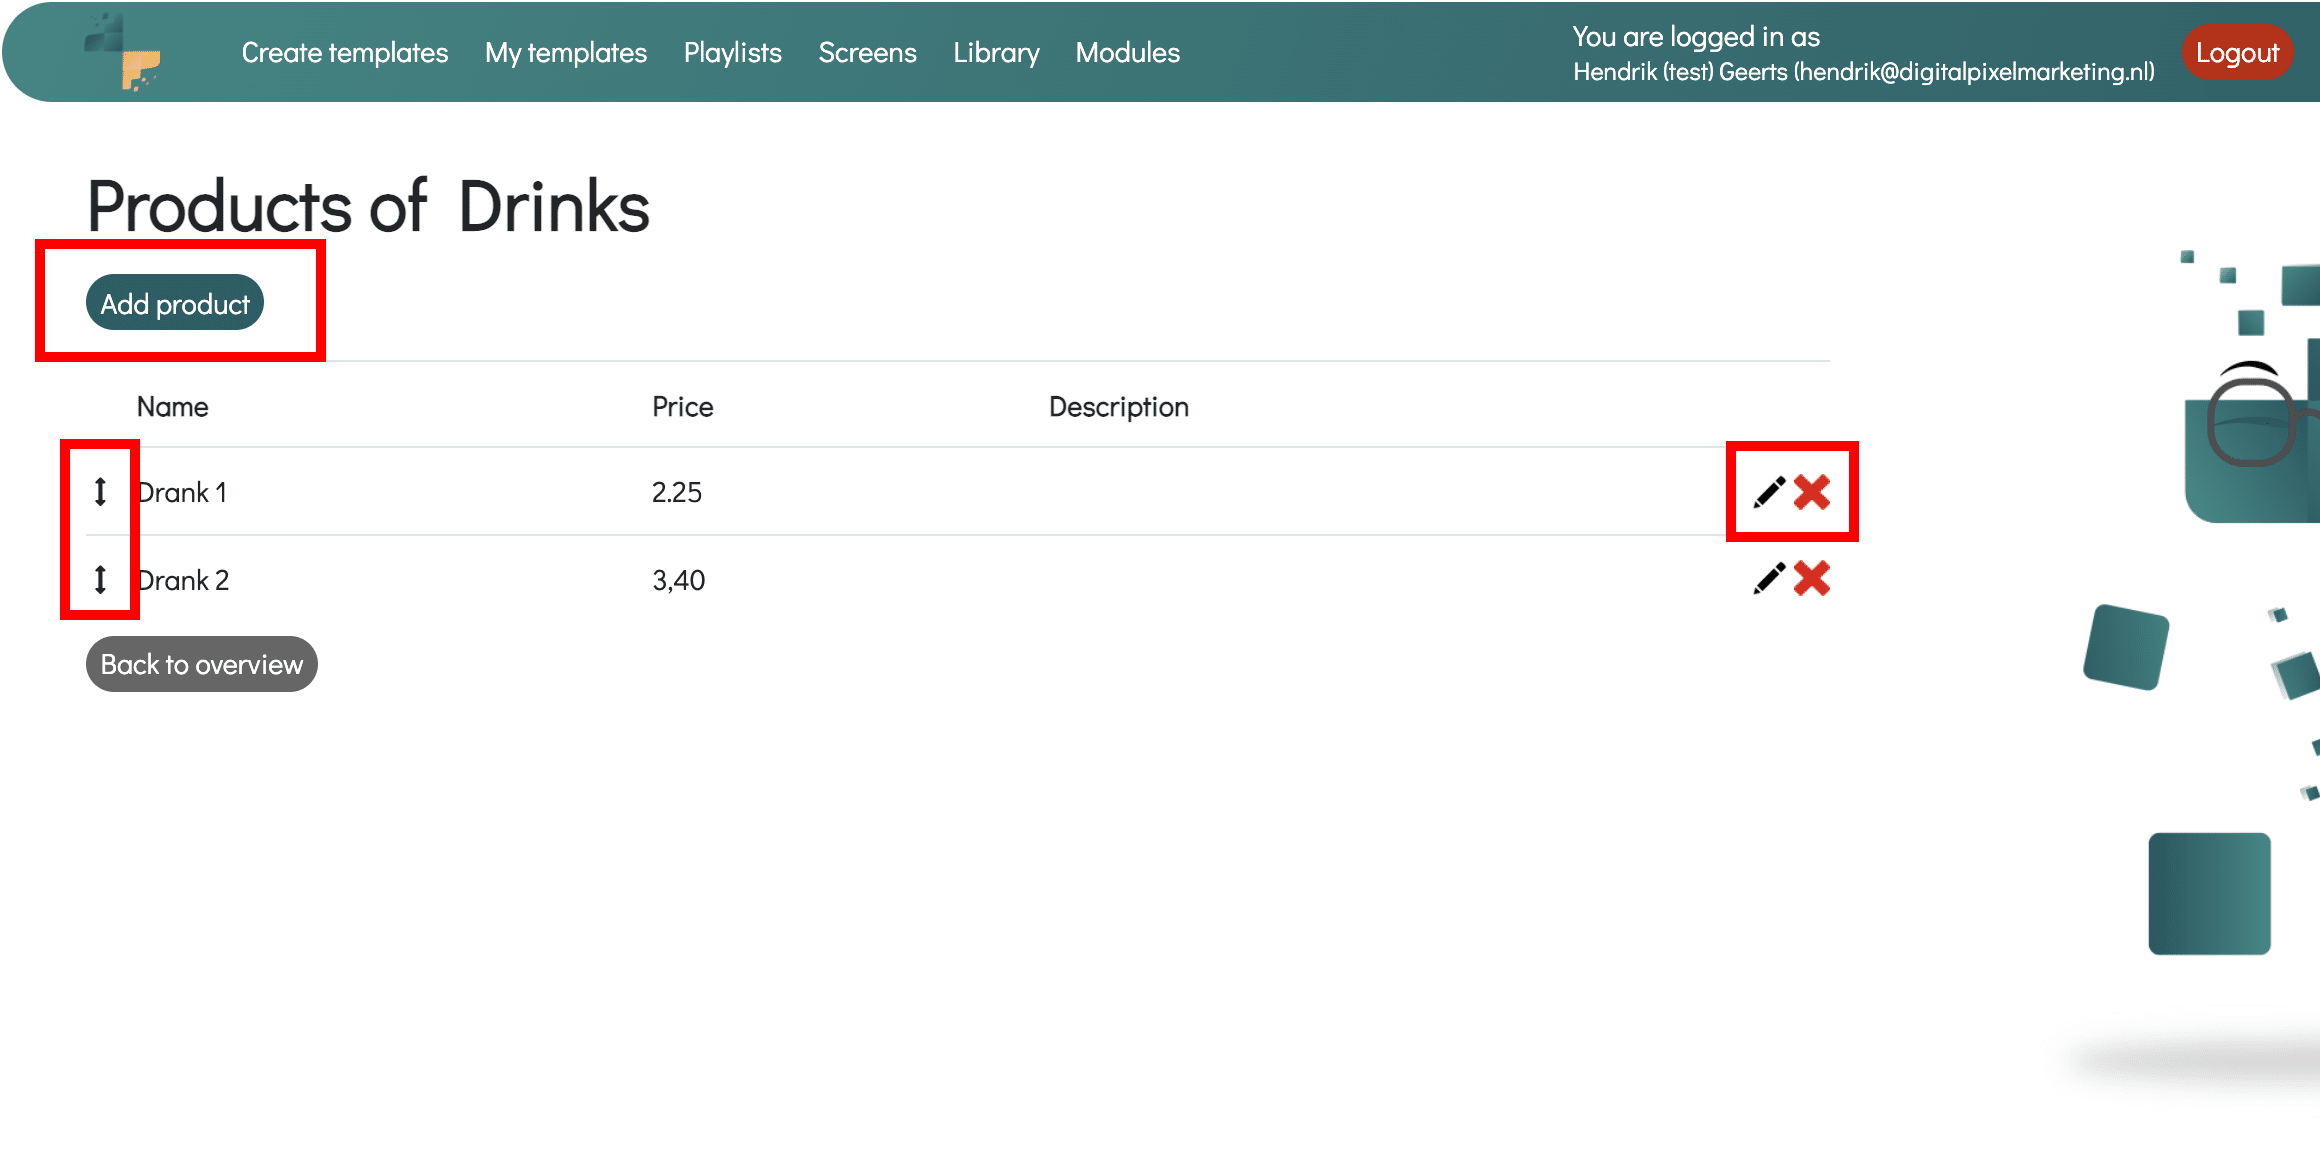
5. In this overview you can add products, choose the order of products, remove and adjust products. When creating products, you must fill in the following fields:
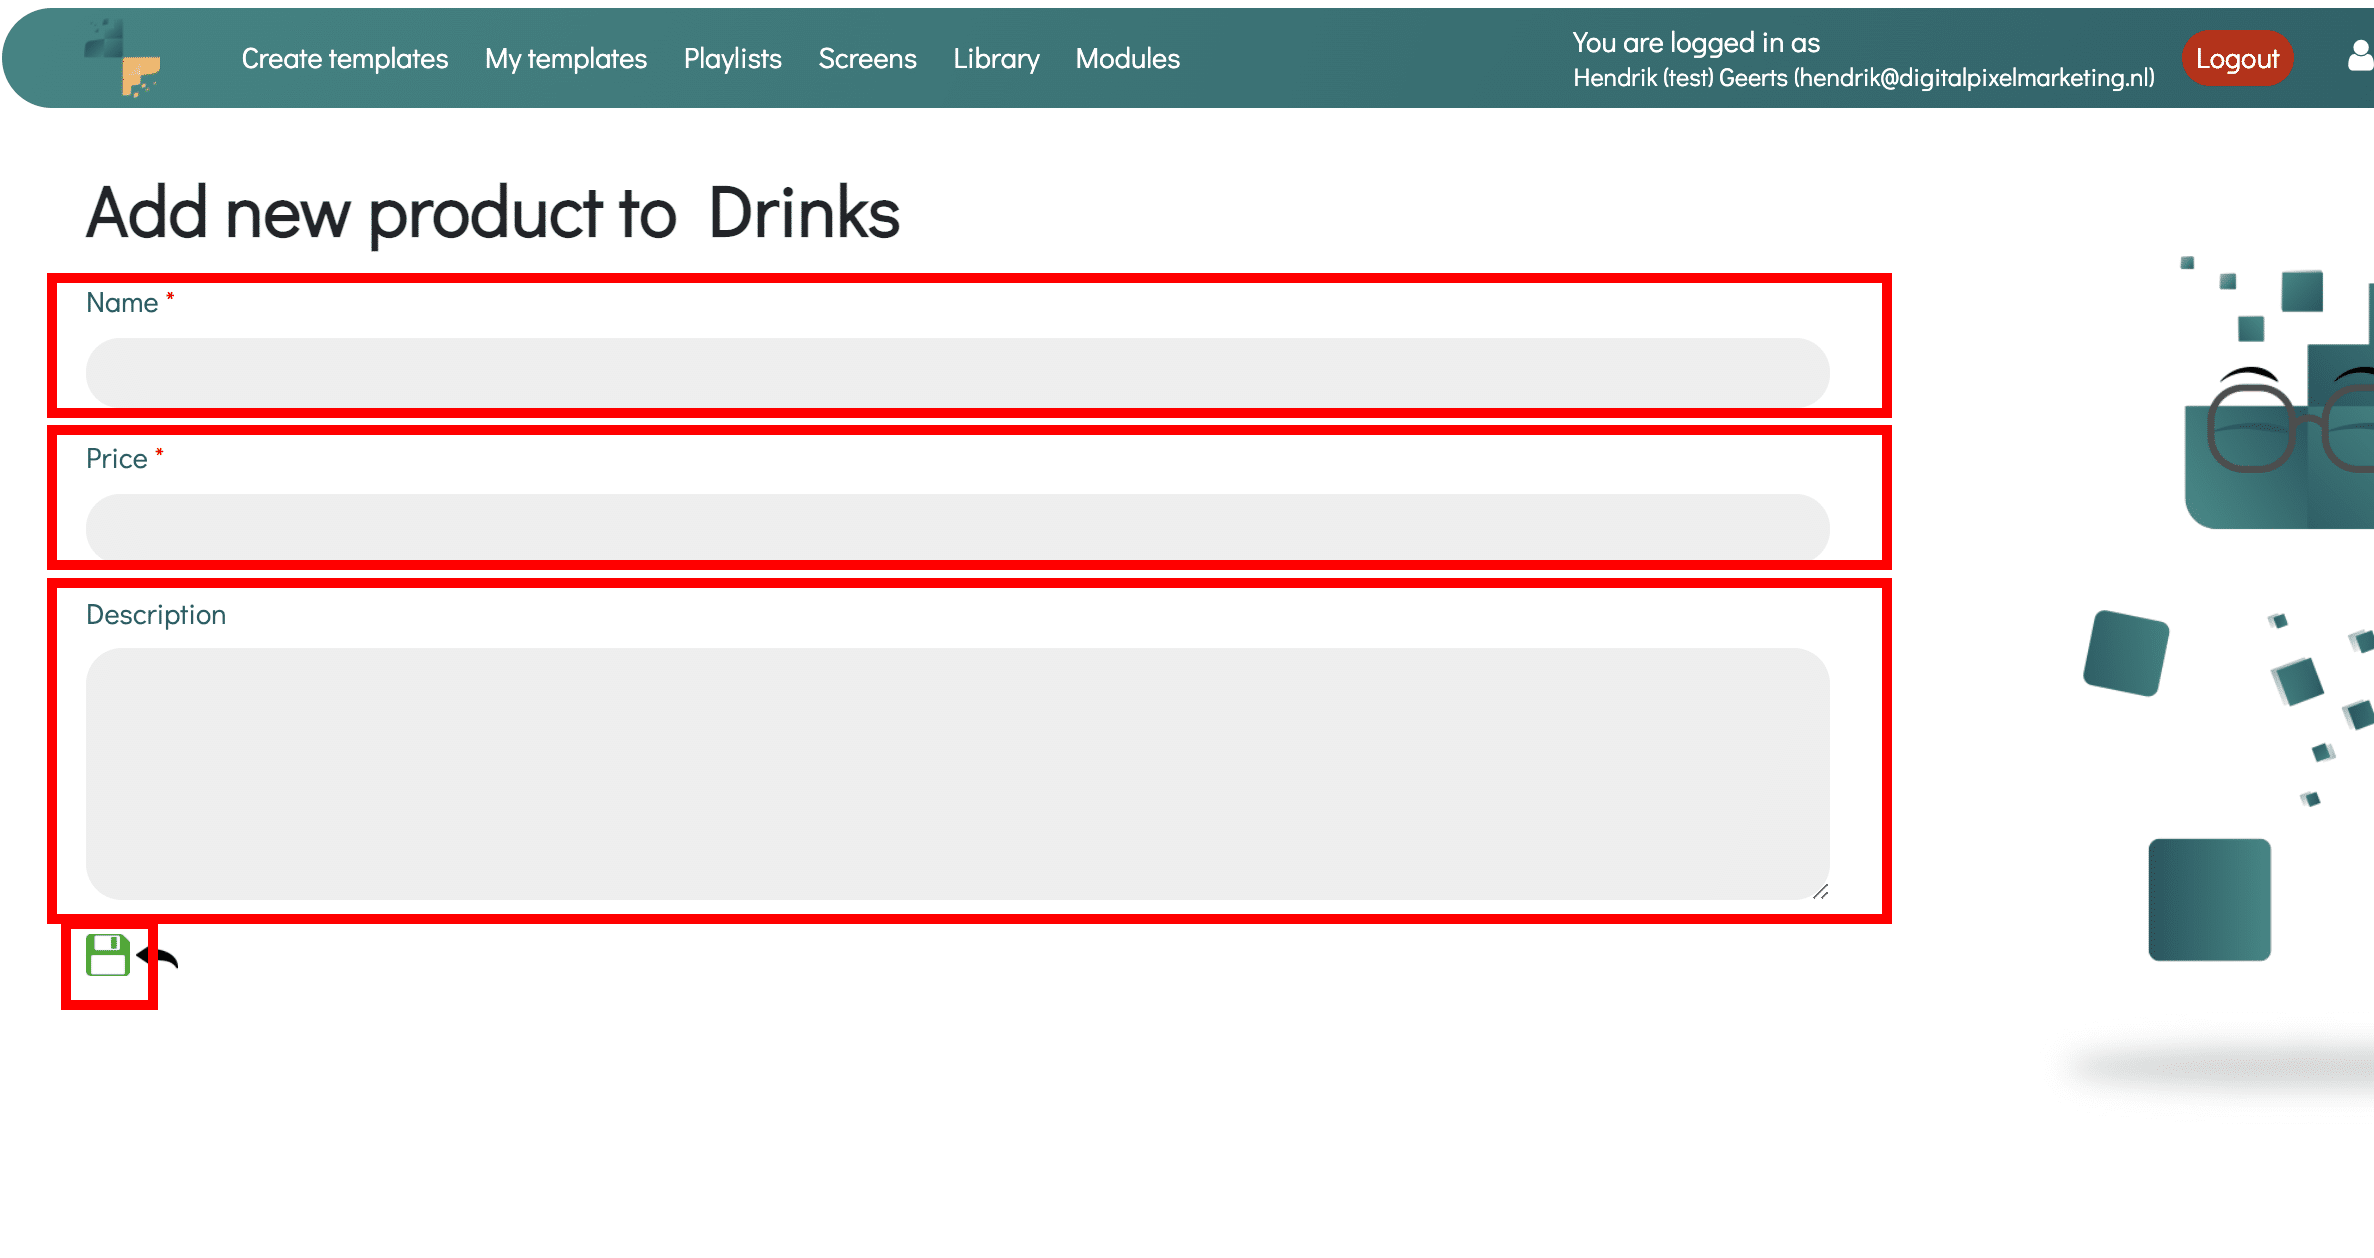
After saving the product, the product is included in the category. Repeat this process until all products and categories have been added.
6. The contents of the menu board are now complete. You have added all categories and products here. To publish these products on your screens, you must create a one-time template for this and publish it in the correct playlist. To create a template, go to the Create template level. Then search for Menu in the search bar.
There will be a number of templates that you can use in combination with the menu board module.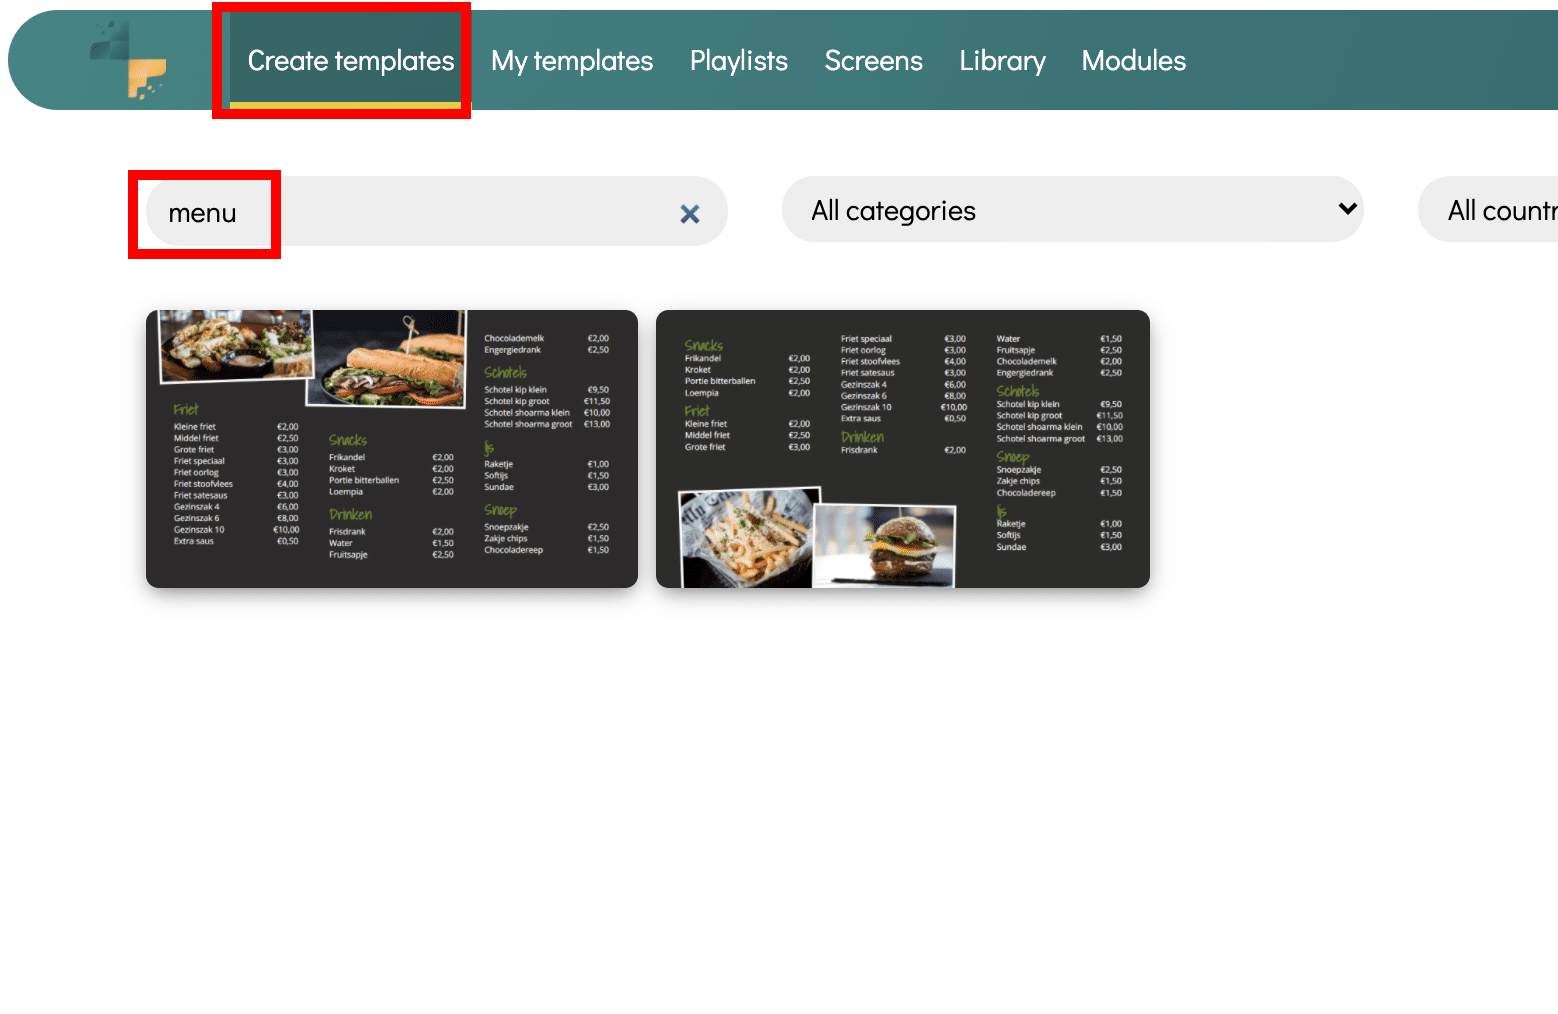
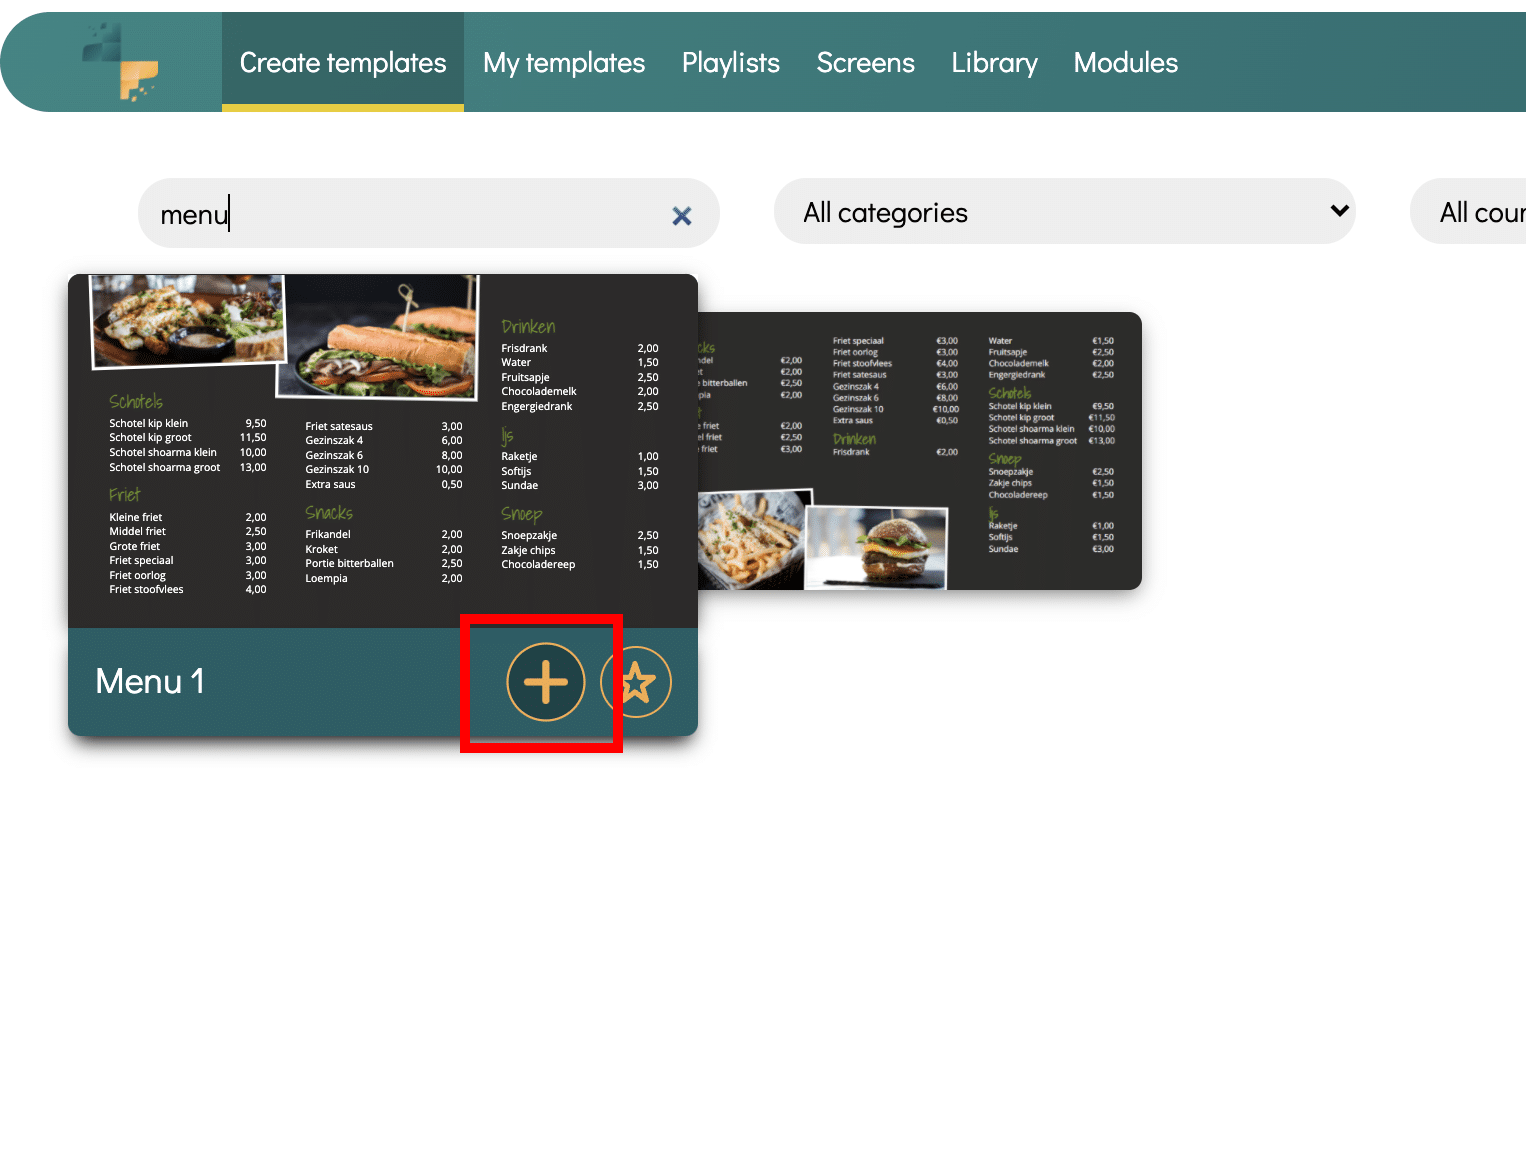
7. To open the template, place your mouse on the desired template. You can then click on the Plus icon. This opens the editor and allows you to create the template.
8. You are in the template editor. You will see all the entry fields on the left and an example of the template on the right. When making adjustments in the editor, you can immediately see how the template will look on a screen.
You will see the created categories on the left. If you want to display a category on this template, click on the Plus icon for the category. This is then added in the template. As you can see, all products here are displayed on the menu board.
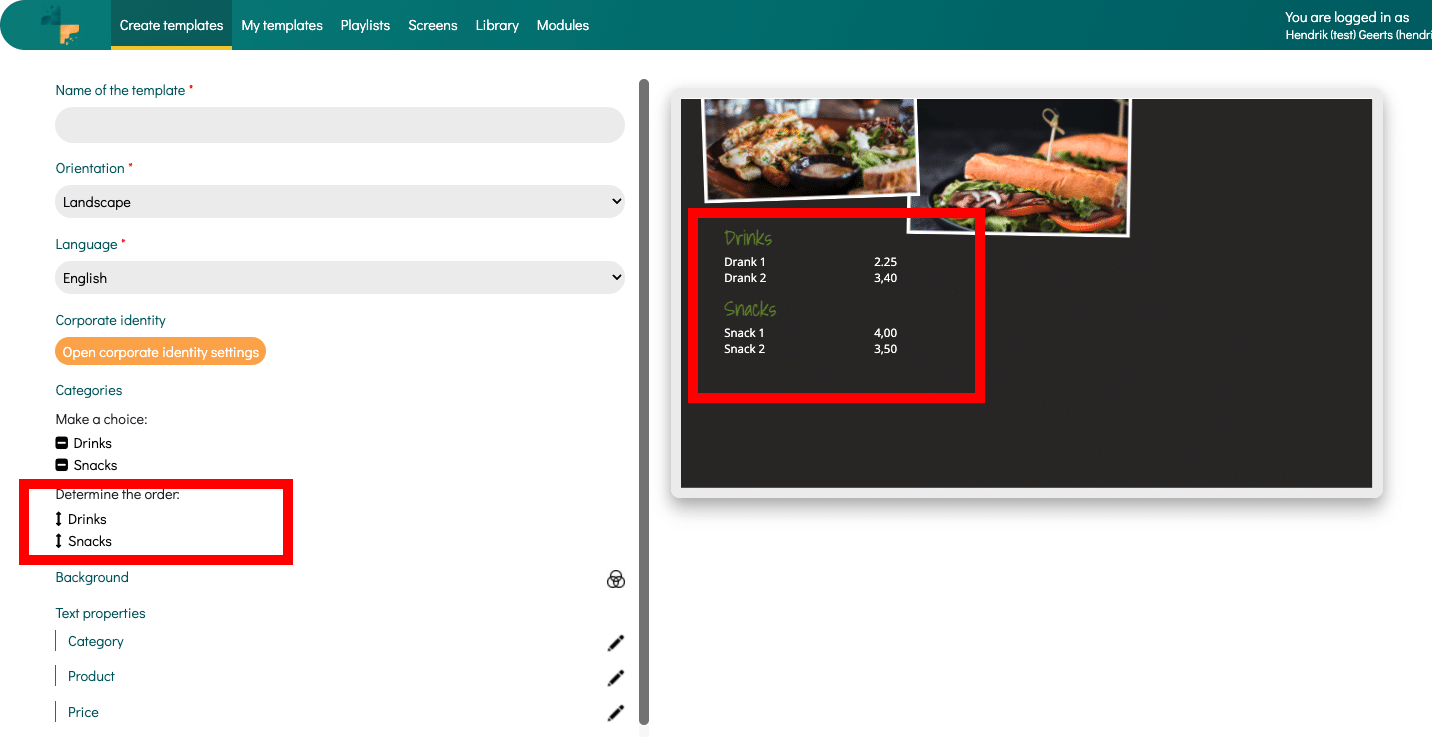
You can rearrange the order of the categories by dragging and dropping them.
9. After adding the correct products in this template, it is possible to adjust the layout. Think of your own fonts, background color, font color and images.
How our editor works and what you can adjust can be found in this article: click here.
10. After adding the correct product category and the layout, you can save the template.
Then you need to publish the template. You can find instruction over here: click here (step 8).
Have you published the template on your screens? From now on you can easily manage all products and categories via the module. You no longer need to be in the template for this. In the module you can:
- Add new products
- Create new categories
- Make price adjustments
- Reorder products
- Delete products.